1. Introduction
In this article, we showcase how to install a screenshot tool integrated with compression library on Ubuntu.
2. Installing Shutter and pngquant
Shutter is a tool for taking screenshots for Linux-based operating systems. It allows you to capture a snapshot of a specific region, window, entire screen, or even a website, edit it with various effects, highlight important parts with a marker, and publish it to an image hosting service. The Shutter is open-source, free, and GPL v3-licensed.
2.1. Installing Shutter on Ubuntu 22.04 and higher
1) Make sure that we have the universe repository enabled:
sudo add-apt-repository universe
2) For your system to be aware of the availability of software from the Universe repository, update the apt cache.
sudo apt update
3) Install Shutter
sudo apt install shutter
2.2. Installing Shutter on Ubuntu 20.04 & 18.04
1) Refresh repository list:
sudo add-apt-repository ppa:linuxuprising/shutter
sudo apt update
2) Install the Shutter tool
sudo apt install shutter
2.3. Installing pngquant
pngquant is a command-line tool and library for PNG image lossy compression. Installing this library is pretty straightforward:
1) Update the apt cache:
sudo apt-get update -y
2) Install pngquant
sudo apt-get install -y pngquant
2.4. Creating a compressing plugin for Shutter.
1) Make sure Shutter is not running:
pkill shutter
2) Create a folder for the plugin and give it the correct permissions optipngplugin:
sudo mkdir /usr/share/shutter/resources/system/plugins/shell/optipngplugin
sudo chmod 755 /usr/share/shutter/resources/system/plugins/shell/optipngplugin
3) Create the script optipngplugin:
sudo nano /usr/share/shutter/resources/system/plugins/shell/optipngplugin/optipngplugin
4) Put this content in the script:
#!/usr/bin/env bash
TEXTDOMAIN=shutter-plugins
TEXTDOMAINDIR=$SHUTTER_INTL
PLUGIN_NAME=$"OptiPNG Plugin"
PLUGIN_SORT=$"Recompress"
PLUGIN_TIP=$"OptiPNG is a PNG optimizer that recompresses image files to a smaller size"
PLUGIN_EXT="image/png"
if [[ "${1}" = "name" ]];then
    echo "${PLUGIN_NAME}"
    exit 0
elif [[ "${1}" = "sort" ]];then
    echo "${PLUGIN_SORT}"
    exit 0
elif [[ "${1}" = "tip" ]];then
    echo "${PLUGIN_TIP}"
    exit 0
elif [[ "${1}" = "ext" ]];then
    echo "${PLUGIN_EXT}"
    exit 0
fi
FILE="${1}"
#LOGO="/usr/share/shutter/resources/system/plugins/shell/optipngplugin/optipngplugin.png"
pngquant --quality=65-80 "${FILE}"
exit 0
You can experiment with --quality min-max parameter - (min and max are numbers in range 0 worst to 100 perfect).
This parameter instructs pngquant to use the least amount of colors required to meet or exceed the max quality. Check pngquant website for more information.
5) Save the changes and give correct permissions:
sudo chmod 755 /usr/share/shutter/resources/system/plugins/shell/optipngplugin/optipngplugin
6) Create optipngplugin.png thumbnail image:
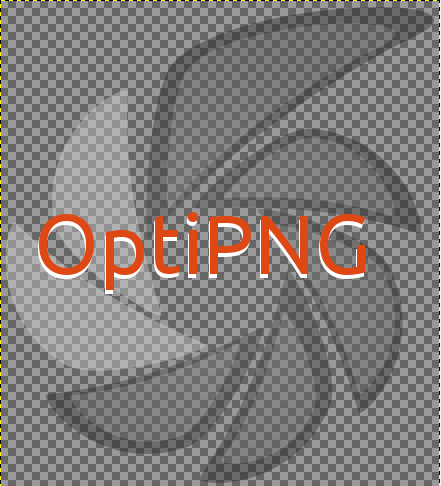
The image should be placed in the following folder:
/usr/share/shutter/resources/system/plugins/shell/optipngplugin/optipngplugin.png
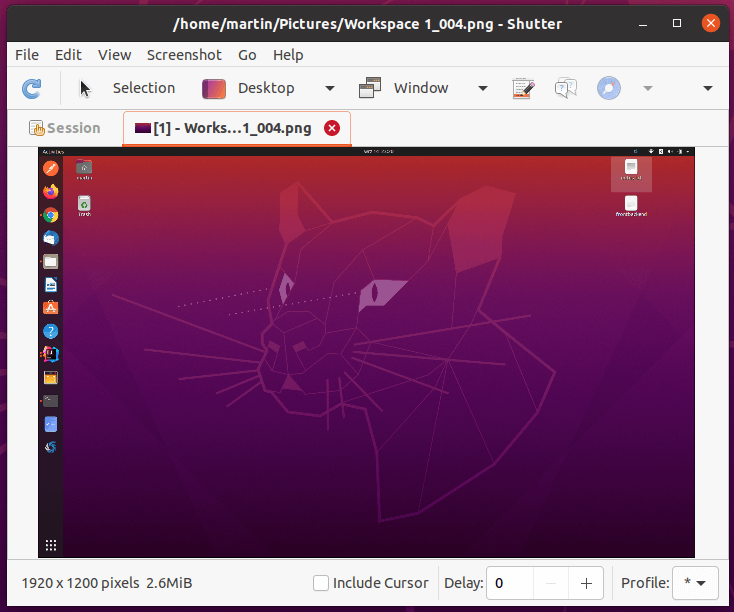
7) Test the plugin. Open shutter and take a screenshot of your desktop:
8) Right-click in the screenshot and click on "Run a Plugin...", then choose "OptiPNG Plugin" from the list:
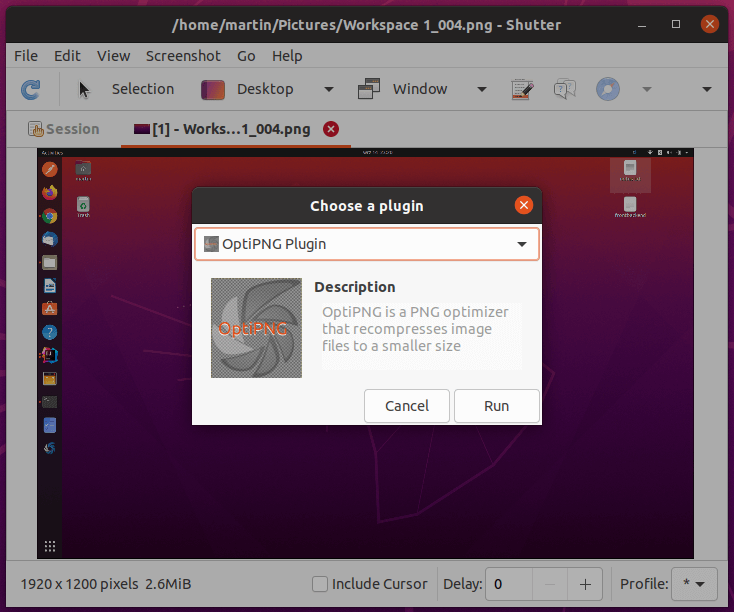
9) Run the plugin to recompress the screenshot you took.
That is all, your screenshot should be compressed.
3. Conclusion
In this article, we presented how to install and configure the screenshot tool with compressing plugin on Ubuntu.
{{ 'Comments (%count%)' | trans {count:count} }}
{{ 'Comments are closed.' | trans }}