1. What is Thymeleaf?
Thymeleaf is a server-side template engine created for Java-based applications. It was designed to process several types of files: HTML, XML, JavaScript, CSS, Text and RAW Data. The main advantage of using Thymeleaf is that templates created with this engine can be easily used as web design prototypes. Injected Thymeleaf logic doesn’t affect the template because Thymeleaf uses simple HTML attributes. Spring Boot includes auto-configuration support for the engine, what makes integration really simple.
2. Thymeleaf with Spring Boot
To integrate Spring Boot application with Thymeleaf engine we need to activate special Spring Boot Starter, which is: spring-boot-starter-thymeleaf.
Configuration process required adding the following dependency to the Maven pom.xml file:
<dependency>
    <groupId>org.springframework.boot</groupId>
    <artifactId>spring-boot-starter-thymeleaf</artifactId>
</dependency>
With added web container configuration, our pom.xml will have the following structure:
<?xml version="1.0" encoding="UTF-8"?>
<project xmlns="http://maven.apache.org/POM/4.0.0" xmlns:xsi="http://www.w3.org/2001/XMLSchema-instance"
         xsi:schemaLocation="http://maven.apache.org/POM/4.0.0 https://maven.apache.org/xsd/maven-4.0.0.xsd">
    <modelVersion>4.0.0</modelVersion>

    <groupId>com.frontbackend.thymeleaf</groupId>
    <artifactId>first-thymeleaf-application</artifactId>
    <version>0.0.1-SNAPSHOT</version>

    <!-- Inherit defaults from Spring Boot -->
    <parent>
        <groupId>org.springframework.boot</groupId>
        <artifactId>spring-boot-starter-parent</artifactId>
        <version>2.1.5.RELEASE</version>
    </parent>

    <!-- Add typical dependencies for a web application -->
    <dependencies>
        <dependency>
            <groupId>org.springframework.boot</groupId>
            <artifactId>spring-boot-starter-web</artifactId>
        </dependency>

        <dependency>
            <groupId>org.springframework.boot</groupId>
            <artifactId>spring-boot-starter-thymeleaf</artifactId>
        </dependency>
    </dependencies>

    <!-- Package as an executable jar -->
    <build>
        <plugins>
            <plugin>
                <groupId>org.springframework.boot</groupId>
                <artifactId>spring-boot-maven-plugin</artifactId>
            </plugin>
        </plugins>
    </build>

</project>
3. Thymeleaf static files - templates
Initial Thymeleaf configuration for Spring Boot force engine to search for the templates in src/main/resources/templates/ folder. To change that path we need to override the following property:
spring.thymeleaf.prefix=classpath:/templates/
In this tutorial, we will stay with the default Thymeleaf engine configuration, for the sake of clarity and simplicity. Now let's create our first HTML file (index.html) and place it into the src/main/resources/templates/ folder.
<!DOCTYPE HTML>
<html lang="en" xmlns:th="http://www.thymeleaf.org">
<head>
    <meta charset="UTF-8"/>
    <title>Spring Boot Thymeleaf Application</title>
</head>
<body>
<h1>Welcome to Thymeleaf Spring Boot</h1>
<h2>
    <span>Hello, <th:block th:text="${name}">[name]</th:block></span>
</h2>
</body>
</html>
Thymeleaf parse the index.html file and evaluate the th:text expression, that tells engine to render value of the ${name} parameter. The name parameter should be provided in the Spring Boot web controller class.
4. Creating web controller
In our example, we defined a web controller class that handle all GET requests on / and /index endpoints and return the name of a view that needs to be rendered in returned body. In this tutorial index will be our base view and IndexController will be our base web controller class for this view:
package com.frontbackend.thymeleaf.controller;

import org.springframework.stereotype.Controller;
import org.springframework.ui.Model;
import org.springframework.web.bind.annotation.GetMapping;
import org.springframework.web.bind.annotation.RequestParam;

@Controller
public class IndexController {

    @GetMapping({ "/", "/index" })
    public String index(Model model) {
        model.addAttribute("name", "John"); // set 'John' value for 'name' attribute

        return "index"; // name of the View
    }
}
@GetMapping annotation guarantees that all incoming requests to / and /index endpoints will be handled by the index() method. Adding parameter name to the Model object makes it accessible for the view template. Thymeleaf will search for this template in /resources/templates/ folder. Method index() returns a String with the name of the template (we don't need to add file extensions - like for example .html).
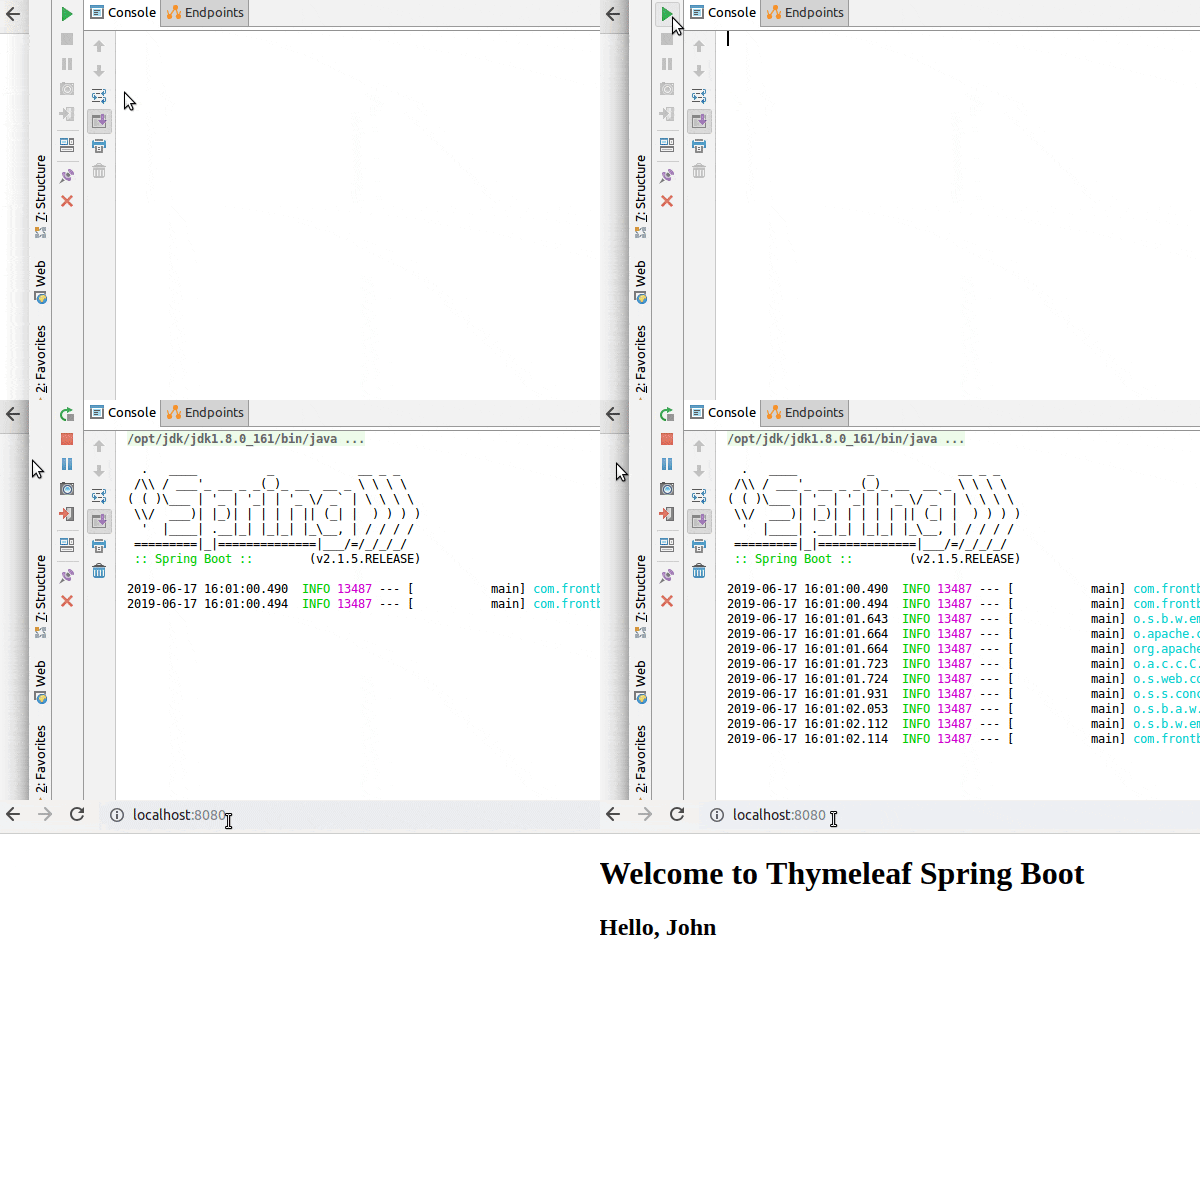
If everything is configured correctly you will see the following output:

5. Possible problems that you may encounter when implementing first Thymeleaf Spring Boot application
1) When /resources/templates folder is missing you will get the following warning on the Spring Boot start up:
Cannot find template location: classpath:/templates/ (please add some templates or check your Thymeleaf configuration)
solution: create /templates folder in your project resources, you can also check if your configuration file doesn't override spring.thymeleaf.prefix property.
2) When your default Spring Boot port is taken you will get:
The Tomcat connector configured to listen on port 8080 failed to start. The port may already be in use or the connector may be misconfigured.
solution: go here: Spring Boot startup failure because port already in use
3) If Thymeleaf will not found the template file it will throw the following exception:
org.thymeleaf.exceptions.TemplateInputException: Error resolving template [inde111x], template might not exist or might not be accessible by any of the configured Template Resolvers
    at org.thymeleaf.engine.TemplateManager.resolveTemplate(TemplateManager.java:869) ~[thymeleaf-3.0.11.RELEASE.jar:3.0.11.RELEASE]
    at org.thymeleaf.engine.TemplateManager.parseAndProcess(TemplateManager.java:607) ~[thymeleaf-3.0.11.RELEASE.jar:3.0.11.RELEASE]
    at org.thymeleaf.TemplateEngine.process(TemplateEngine.java:1098) ~[thymeleaf-3.0.11.RELEASE.jar:3.0.11.RELEASE]
    at org.thymeleaf.TemplateEngine.process(TemplateEngine.java:1072) ~[thymeleaf-3.0.11.RELEASE.jar:3.0.11.RELEASE]
    at org.thymeleaf.spring5.view.ThymeleafView.renderFragment(ThymeleafView.java:362) ~[thymeleaf-spring5-3.0.11.RELEASE.jar:3.0.11.RELEASE]
solution: check if your /resources/templates folder contains required template.
6. Conclusion
In this tutorial, we learned how to create a Spring Boot application with Thymeleaf template engine. Spring Boot comes with special starter configuration making installation simple and fast. If you need you can always override default Spring Boot Thymeleaf parameters.
The code samples shown in the tutorial is available over on GitHub.
{{ 'Comments (%count%)' | trans {count:count} }}
{{ 'Comments are closed.' | trans }}